decorhstyle.com fashion and jewellery ideas

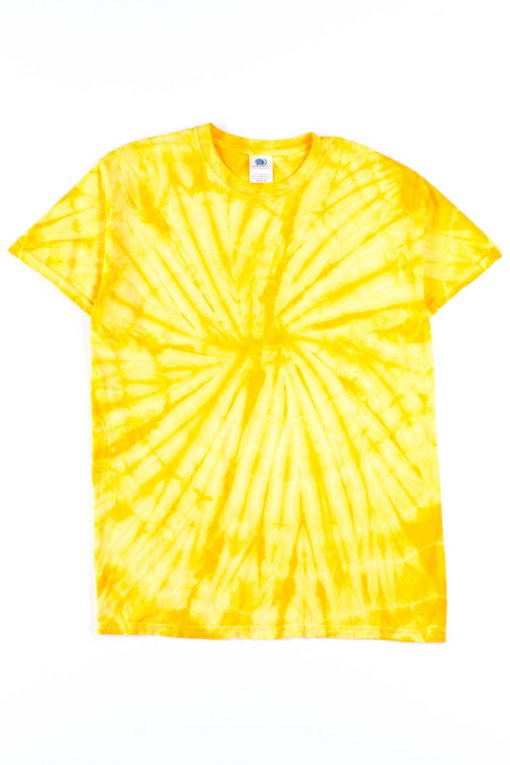
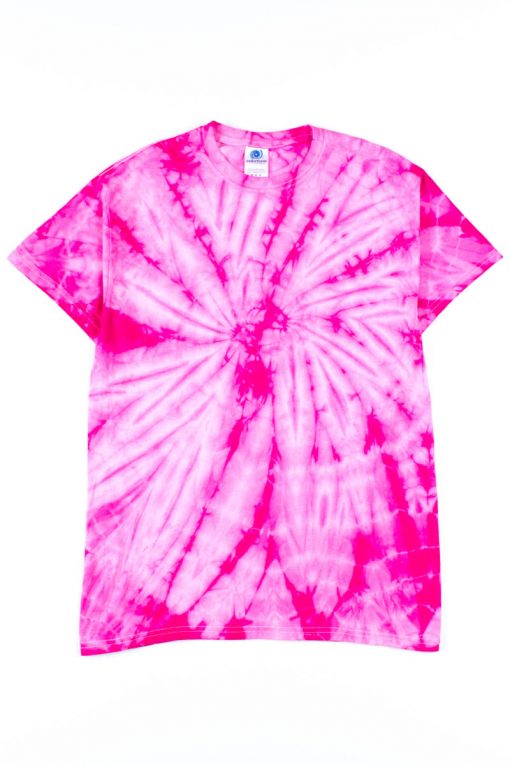
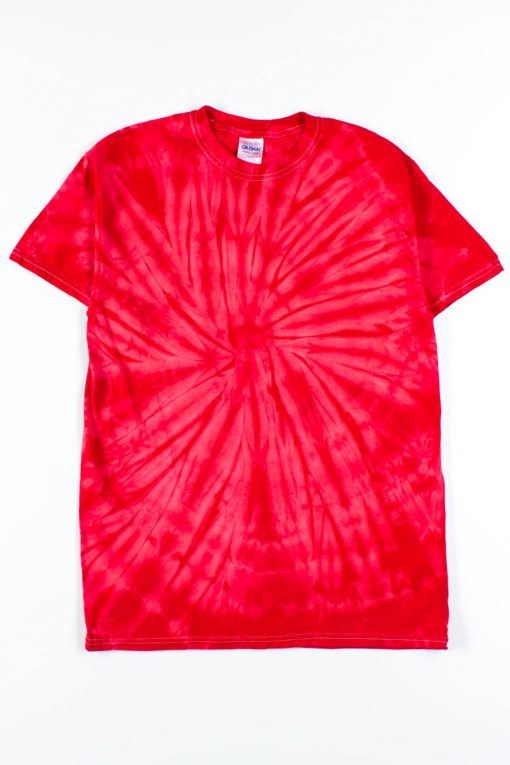
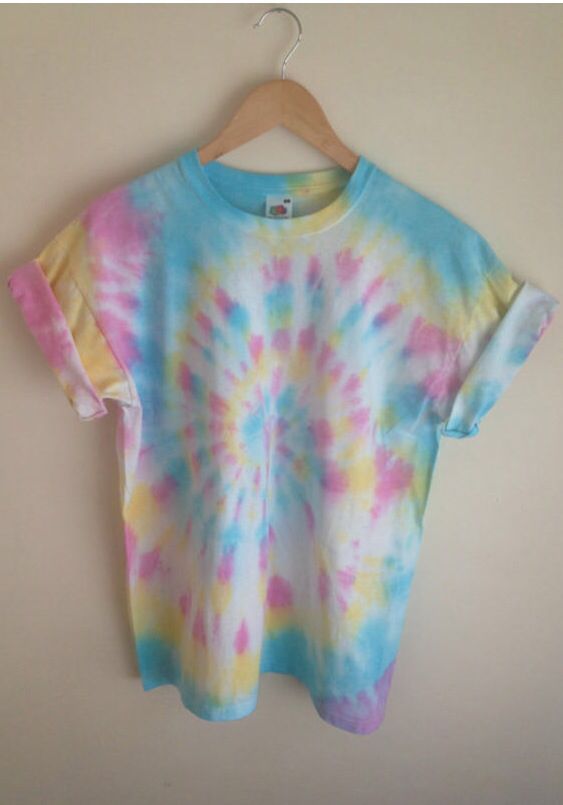
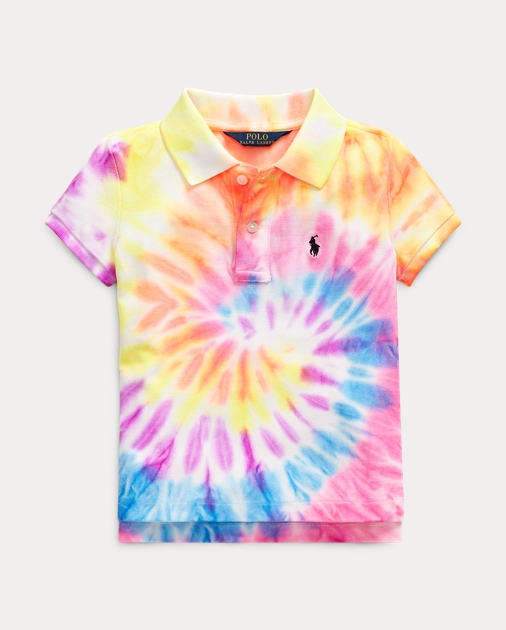
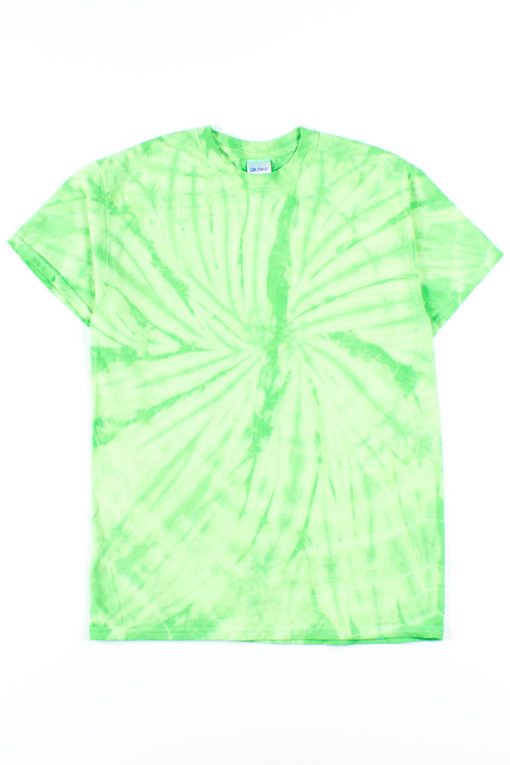
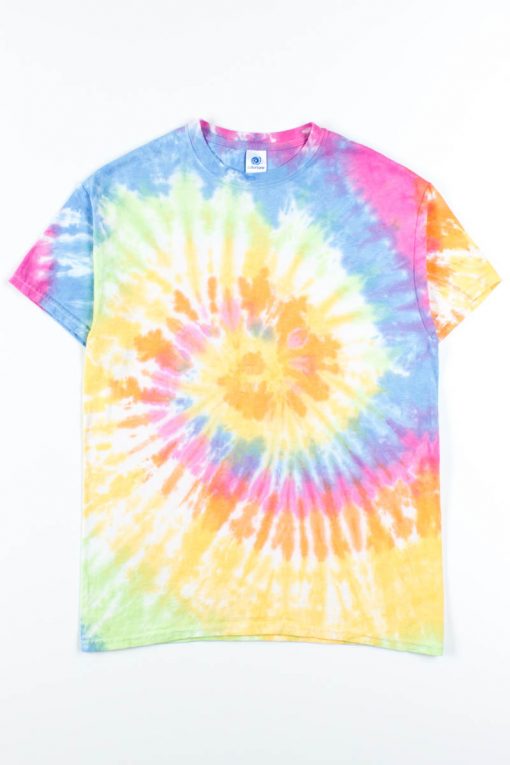
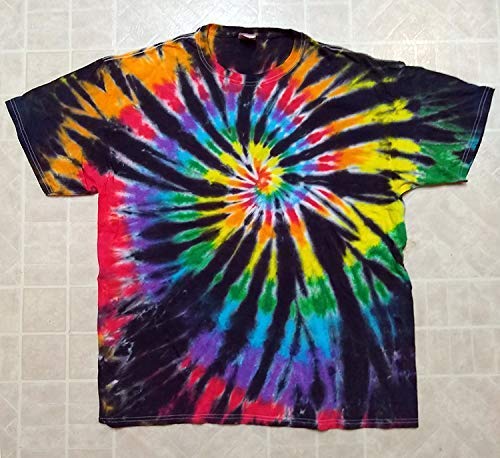
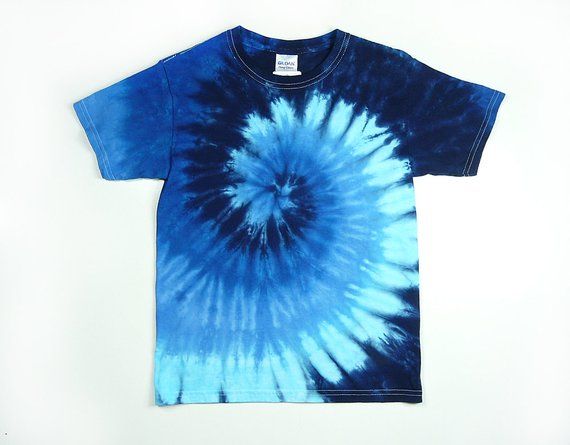
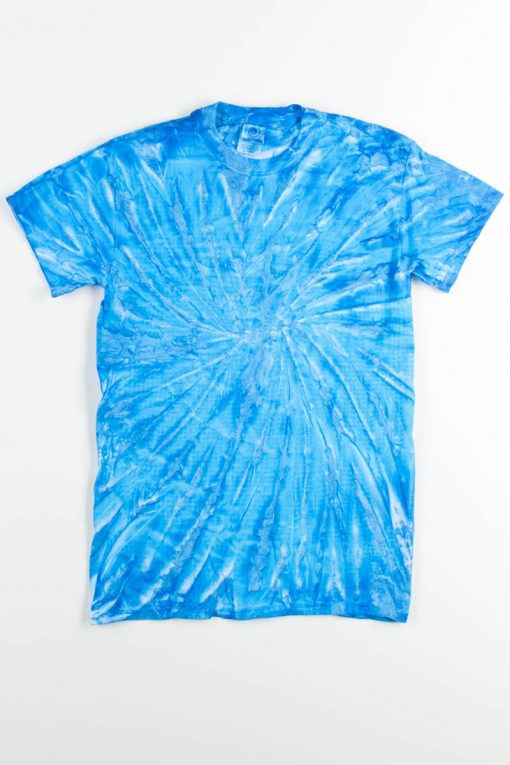
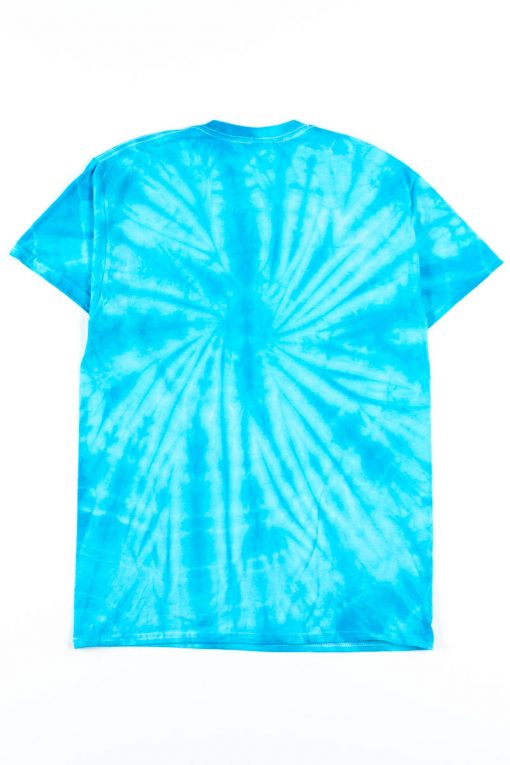
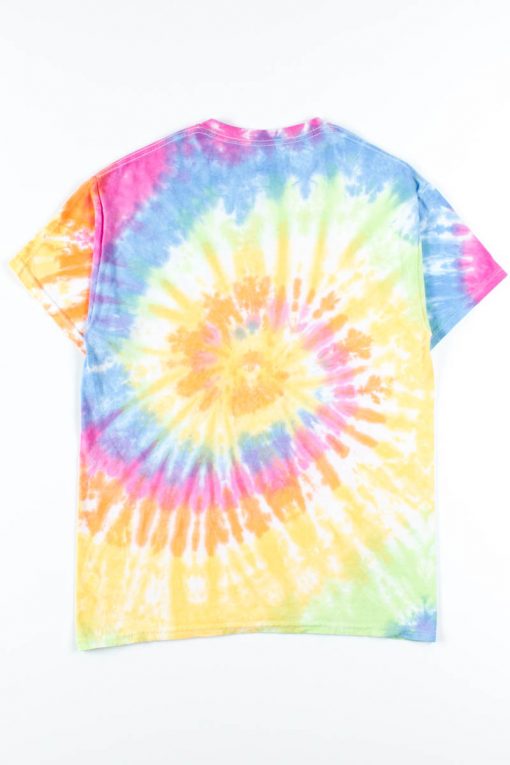
Binding is the most important and regularly uses the terminology used to resist dyeing. The method involves folding and twisting fabrics with strings or rubber bands and then applying a dye to them. The application of fabric before dyeing should be stable as it will prevent the dye from coloring the fabrics. More sophisticated dyes include additional processes that must be performed, including stitching and unloading. The colors are almost American and when you dye shirts, you're scared of colors that could linger on your shorts. So do not be sad, because if you do it with care, it will not happen. Let's have a discussion on how to color a shirt properly.
The shirt should be fit for dying
The shirt should be capable of death and meet the necessary requirements. Almost all shirts that are 100% cotton are best for dyeing. However, it is OK to use 50% cotton and 50% polyester. Even if you have 100% polyester, it works, but it is best to have a 100% cotton shirt to die the best.
Selection of your dyes
You can tie dye shirts to any good mortality kit available on the market. These kits are very easy to buy in any of the craft shops that contain almost everything you need. The kits include gloves, rubber bands, urea and perfect and simple instructions. All dyes are already supplied in pressed bottles, in which you only need warm water, which should not be very hot. Other alternative products include the purchase of individual dye packages, including soda-cream ash and mixing instructions. Sometimes you need squeeze bottles if they are not given. If you are unfamiliar with prepackaged kits, you can do it yourself. You need protein dyes, rubber bands, rubber gloves and squeeze bottles for optimal dyeing. In addition, soda and urea are needed. Do not confuse the process and do it with ease.
Soak the shirt and join the band
Soak the solution in warm water and soda for almost 10 minutes and follow the instructions. Then put the rubber band after making a cake pan. Cover the work area with plastic or plastic clothing. Finally, apply the cube and wait nearly 24 hours for the process to complete.